
CREATE UNIQUE MONOGRAM EMBROIDERY DESIGNS BY DIGITIZING
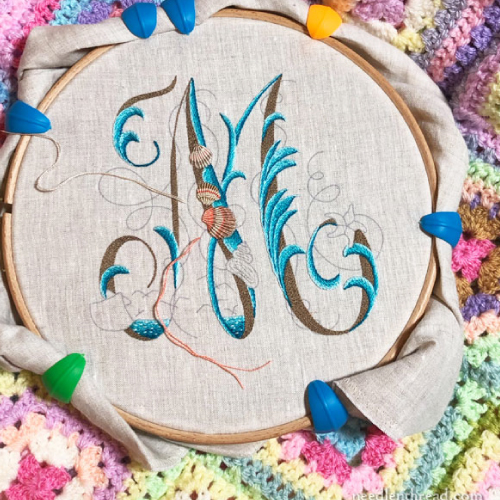
Embroidery DigitizingEven with technological advancement, monogram embroidery has defined our personality as its demand is not seasonal. Though getting an amazing design is not an easy task, monogram digitizing can help in this case.
As a beginner, creating embroidery monogram designs can be done quickly without stress with the help of embroidery software and an embroidery machine to sew your designs. Digitizing companies can be of great help when it comes to monogram digitizing. To get your desired monogram applique you will need to follow till the end of this article.
However, before you can monogram anything, you will need to know how to set up a monogram file and get it onto your embroidery machine.
How To Set And Load A Monogram File
Fortunately, setting up a monogram can be achieved in stress-free ways and doesn’t cost a fortune. One of these ways is the use of embroidery software.
First of all, to figure out how you want to design the monogram and the order in which you want to stitch the letters, you need to set up the monogram embroidery file before you proceed to load it into your embroidery machine.
Use Embroidery Software To Create Monogram Embroidery Designs
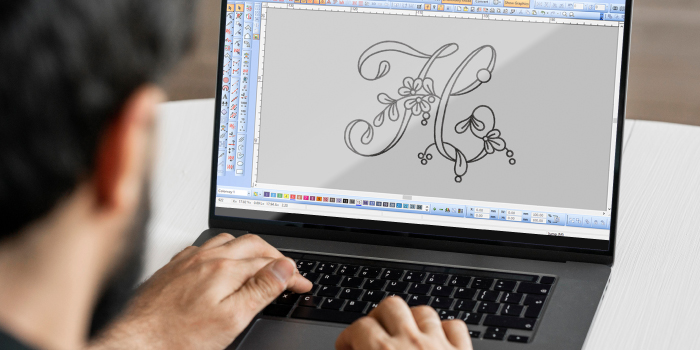
Step 1. First, Import Some Form Of Artwork Into The Embroidery Software
Then you have these options:
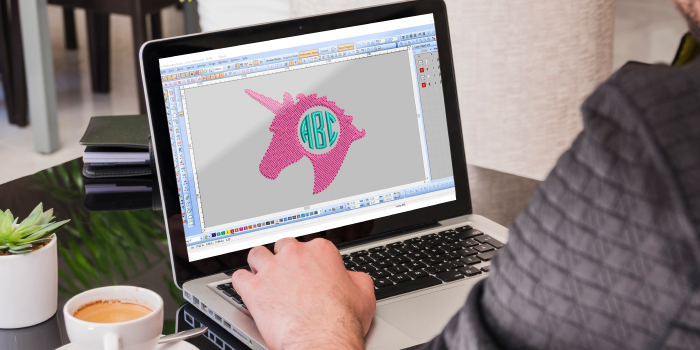
1. Use the automatic digitization function to convert the image into an embroidery
2. Manual digitization for total control to create more complex and complex embroidery designs
3. Combine the two methods
When you combine the first two methods, you will use an automatic digitization tool to create specific parts of the embroidery design and then manually digitize the area to add more details.
Step 2. Set The Appropriate Size
Measure the space you want the logo to appear on the product. Before locking the picture, please make sure that you have placed the correct and accurate size for the logo because the final product will have a precise design size.
Step 3. Select Stitch Type

Embroiders use different stitch types to create unique styles, textures, appearances, etc. The choice of fabric, the push-pull resistance of the material, and the maximum stitch length are all factors that must be considered. Common stitch types for machine embroidery include:
• Straight stitch
• Fill stitch
• Satin stitch
Step 4. Stitch Direction
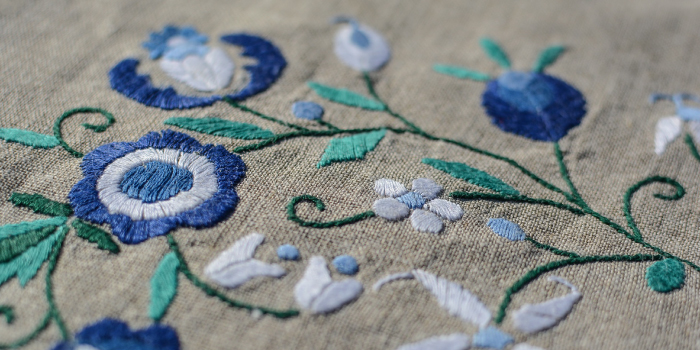
.jpg)
Determining the stitch direction allows you to create a blueprint for the machine. This step is essential because the machine needs instructions for each stitch. The pattern of stitches can make the fabric have different tones and contours to replicate the logo design as best as possible.
You cannot skip this step because your final product may need to go through multiple jumps and very uneven machine stitch patterns. The correct stitching will also save you thread costs and time.
Step 5. Embroidery Thread Color
Choosing the right color is as important as determining the fabric and stitch type. The color determines how accurately you can copy the digital version of the logo. Make sure to select the desired color from the color bar carefully. The color of your logo must go hand-in-hand with the color of the thread you choose for embroidery.
Step 6. Transfer And Digitize Embroidery Files
After converting ordinary files such as JPEG, PNG, PDF etc., into embroidery files, you must now transfer the embroidery file to the machine you will use for embroidery. The transfer process is very simple; you can use a flashcard, a computer containing embroidery software, or even a USB cable to complete this process.
The above step is essential for your embroidery machine to recognize the file before it starts working and make sure you choose the appropriate file format that matches the machine type.
Step 7. Prepare The Machine
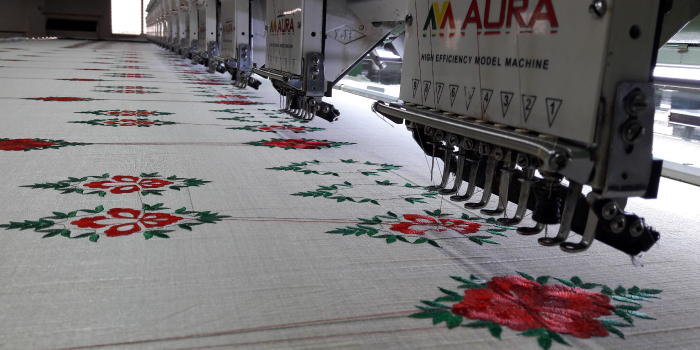
Before your embroidery machine sews digital logos on brand products according to your instructions, you must complete a few steps to prepare the monogram machine embroidery sewing it for. It would be best to inform the machine of the settings that must be used by selecting the thread, stitch order, needle, direction, necessary thread color, etc. This may depend on the stitch type and software you are using. The second thing you need to do is place your fabric or product in the embroidery machine frame/ring while carefully sliding them into the embroidery machine’s arms.
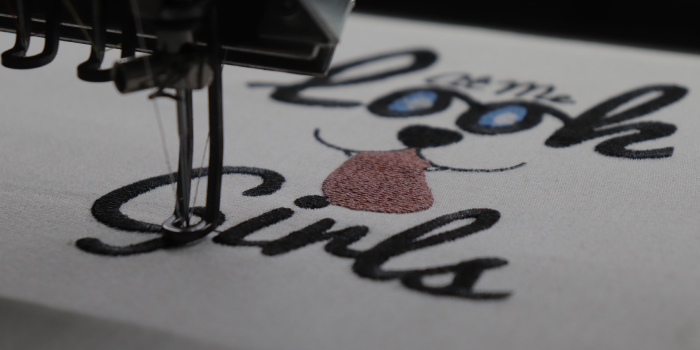
Step 8. Sample Test
When using a digitized monogram design, it is always best to test the performance of the machine. This is an essential step that takes no time to carry out
Rules To Follow To Get Desired Embroidery Monogram Patterns:
Essential features that define a monogram include being both attractive and having high durability. Here are the rules to follow to achieve your desired embroidery monogram patterns.
Underlay Correctly
You can use the default settings available for underlying but you have to ensure it is done properly. Underlying correctly is the basis of getting unique stitches done. It has to be detailed for monogram digitizing.
Monogram fonts embroidery and the material to be used determine the type of underlay to be applied. This also applies when using the small and large letters used in monogram digitizing; the small letters are done using the centerline overlay, while the large letters are done using the zigzag or
double zigzag stitches. This makes it easy for digitizing. In most cases, the zigzag works fine.
It is advisable to keep stitches dense as it gives a monogram a unique look.
Large Monograms:
This is a popular kind of monogram. It is essential to be knowledgeable on how to go about making monogram fonts embroidery, in case of problems if it arises. Blended satin stitch with the smallest issue gives you a similar look to the normal satin. Creating a split satin can be done generally in two ways; random split and percentage split. The random split gives you a natural look of satin to lettering while splitting by percentage further into a fixed percentage in digitizing.
Base Fill Or Backdrop:
A digitizer is responsible for ensuring that the monogram remains intact throughout the lifespan of the embroidered item. To achieve this, the digitizer ensures that a backdrop or abase fill available when digitizing for embroidery. This not only helps keep the monogram intact but also helps improve the aesthetics of a monogram.
Base fills or backdrop also help the decorative appearance of a monogram applique more pronounced in thick fabrics, restricts stitch twisting, and makes lettering clearer and intact.
Conclusion:
So, having seen the steps on how to set up and load a file to create embroidery monogram designs and the rules to produce excellent and creative designs, it is now left for you to choose either to follow the rigorous steps or hand it over to digitizing companies. However, make use of the appropriate software and tips to create unique patterns and designs.